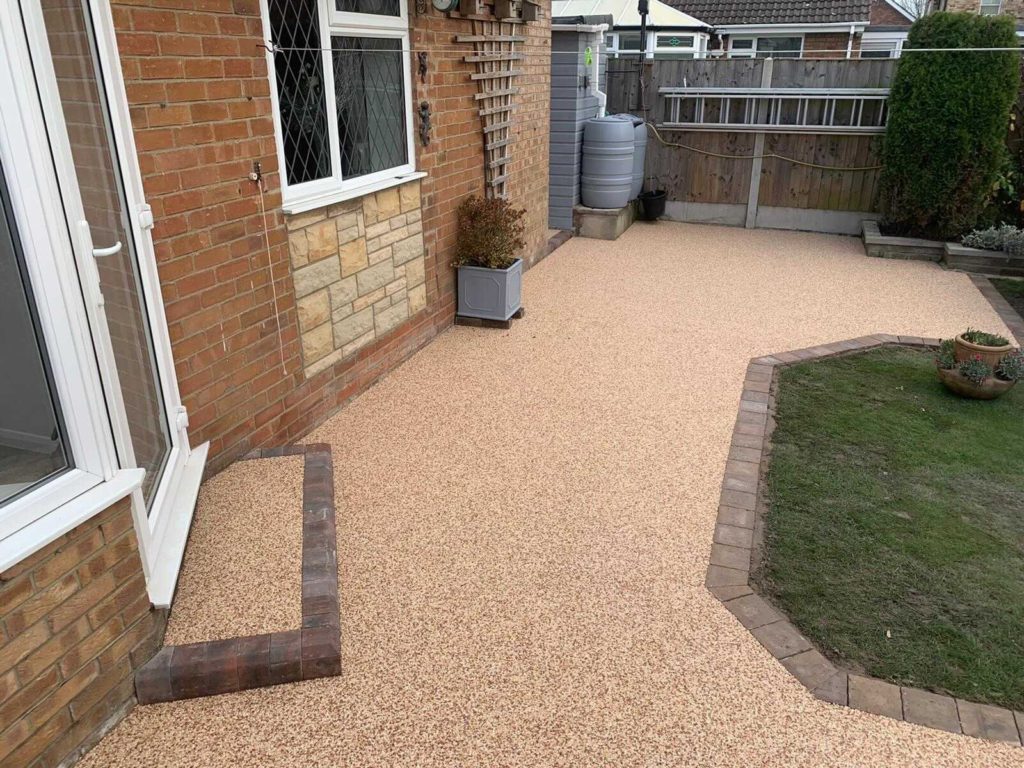
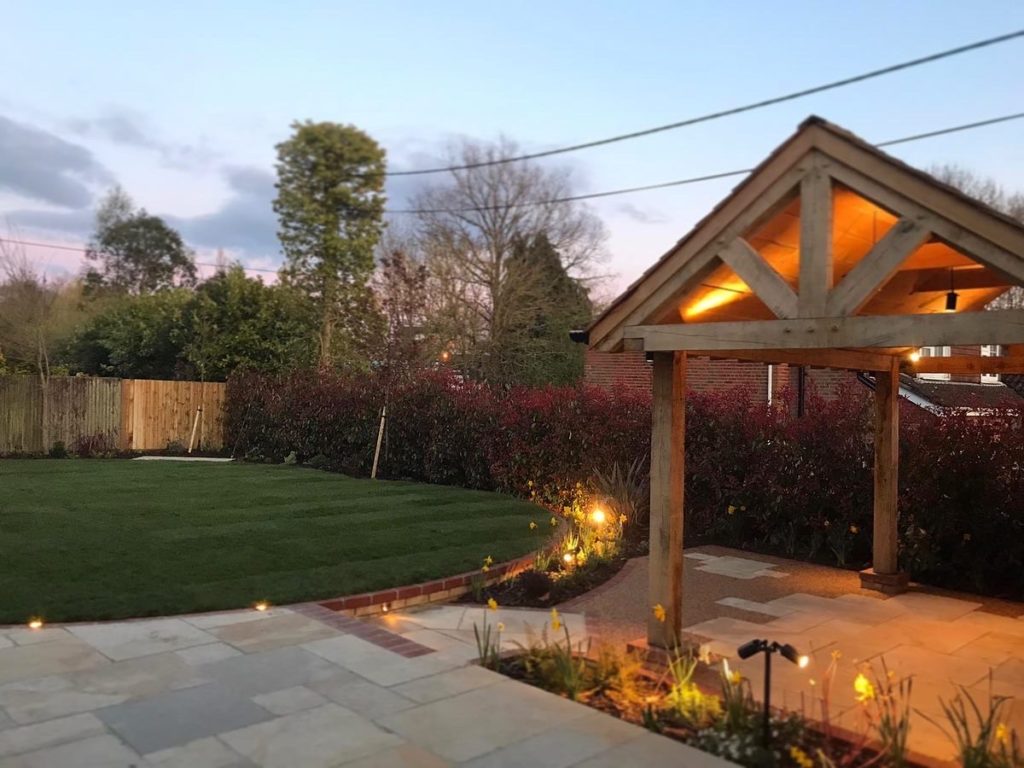
We are often asked if laying resin bound is a DIY job. The short answer is YES but only for paths and patios – an even then we would recommend leaving bigger projects to the professionals!
If you have never laid a concrete path or used a trowel then laying resin bound surfacing on a path, or small patio is going to be a challenge and you would be well advised to get some help from somebody with some experience.
That said if you’re keen, with good planning and a basic level of experience, a DIY resin bound project is highly rewarding and can transform the look of your outdoor living space. It’s fun too!
So, where to start:
Choosing the right system
There are a number of systems on the market, but it is important to know the difference between resin bound and resin bonded.
The bonded kits are simply a resin that you trowel on and then throw stones onto. This is effectively pebble-dashing for drives and paths, and, like pebble dashing, the danger is that very soon the stones can part company with the resin and you get bald patches.
Resin-bound mixes the resin into the stones so each one is coated and therefore sticks to its neighbours. This greatly increases strength and will ensure your new path or patio looks great for years to come. Even here you need to select a thickness that is suitable for the location. Vuba recommend a minimum 15mm depth for paths and patios! It’s more for driveways, but more about that later!
So resin bound is definitely the way to go, but the problem for the DIYer is that almost all resin bound systems require a forced action mixer. It’s impossible to mix resin bound aggregate (stone chippings) in a conventional cement mixer – the resin won’t coat the aggregate effectively and it will very quickly break up, however, the Vuba DIY kit is formulated to work with a paddle mixer and an electric drill. But before you grab your cordless drill and start mixing you need to be sure it is powerful enough. Often you will find a main powered drill of more than 550 watts is much better for the job. The good news is that they are cheap to buy, or if you want to go one better choose a dedicated paddle mixer that you can buy or hire.
So what is the process for installing the Vuba Resin Bound DIY kit?
A Strong Foundation
The key to any good resin bound project is quality preparation and a solid foundation.
Your foundation should be a minimum of 150mm deep and we recommend using MOT Type 1 or 3 as your sub-base.
Once you have compacted your foundation you have three base options – 60ml Open Grade Tarmac, Concrete or the Vuba Grid System.
For the DIY enthusiast, in our opinion, the Vuba Grid system is perfect. It’s hassle-free, lightweight has incredible strength properties. It comes in 1m2 sections which easily clip together and can easily be cut to fit your space perfectly allowing for any drainage or none square sections.
Fill the grid system with angular stone – you’ll find it at most good builders merchants and its low cost. Angular stone gives the resin lots of contact points to stick to and is good for compacting the surface.
It’s time to mix and lay your resin!
The first point to note – It’s vital your base is dry when you lay your resin bound surfacing and that the freshly installed resin bound surface is kept dry for a minimum of half a day and ideally 24 hours. Any moisture coming into contact with the resin inside this period could “blister” causing lightly cloudy patches to appear once dry.
To lay your resin bound surfacing we recommend you set out your DIY kits and mark out the surface area in equal parts giving you a good guide as to how much material you will use in each section.
Each DIY kit covers 1 square meter and is made up of 1 x 25kg bag of aggregate for 1 x two-part resin kit.
Step 1.
Pour part A and part B of your resin in a container and mix with a drill and paddle for approximately 90 seconds to ensure it is fully blended.
Step 2.
Slowly add the aggregate to your resin again mixing for a further 90 seconds. It’s important to note here that firstly you must mix each kit for an equal time to ensure the colour consistency and that secondly, you should not over mix as mixing creates heat which can result in discolouration and reduced working time with the materials – essentially when its dry it will look patchy if you get this wrong!
Step 3.
Pour the mixed resin and aggregate on to the working surface and spread using a trowel at a vertical angle. Once spread you can apply a finish to the resin using a freshly cleaned trowel.
Laying the DIY Resin Bound Kit is easy and fun. If there are two of you, have one of your “team” mix a kit and then pour it out fairly evenly over the surface area you wish to cover. Then while they begin mixing a second kit, the other person can spread the mix – you will have plenty of time to get the surface right – approximately 30 minutes.
Finally, as a general rule we recommend you allow a minimum 24 hours before walking on your new resin bound surface.
So what about driveways?
Our DIY kits are a single stone size.
Our Resin Bound systems recommended for driveways contain a blended mix of stone sizes and a binding quartz – resulting in a much more compact, stronger finish suitable for vehicle traffic.
They do however require the use of a Forced Action Mixer and the very nature of a larger project also creates more potential for lesser experienced DIY enthusiasts to make small mistakes that can significantly impact the look of your new driveway.
For this reason, when it comes to driveways, we recommend you get the professionals in using a reputable contractor with more experience will mean you have a person on the job who is more aware of potential issues which can arise and will know how to overcome them and ensure a great job!
Speak to Vuba and we can always recommend you one of our Approved Contractors!


