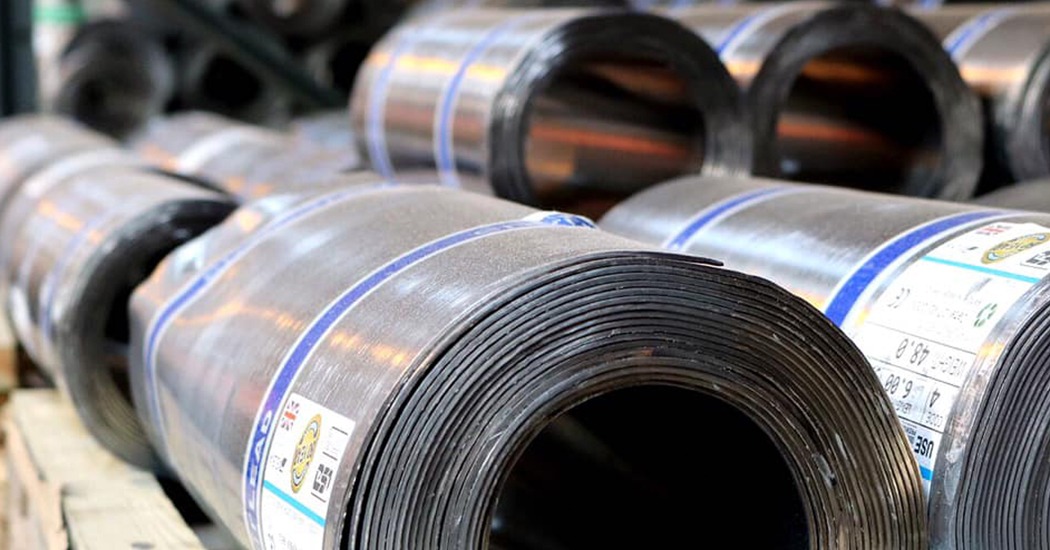
Lead flashing is universal across pitched roofs in the UK. It’s used to cover the joints created when tiles meet things like chimneys, abutments, and dormers.
Unlike, say, roof tile vents, there is no universe where lead flashing can look discrete. However, that doesn’t mean it can’t look like an appealing part of your roof.
Remember, however, that no matter how nice lead may look it’s still lead. It’s still highly toxic and should always be handled with full safety precautions.
Even lead residue under the fingernails can be very dangerous. If you’re uncomfortable working on a ladder, a roof, or with lead, it’s best to leave this to the professionals.
Installation
Lead can’t be just slapped on and expected to look right. Not only will the initial job look wrong, but sloppy installation can lead to lead cracking.
This is caused by lead expanding more than the brickwork does in response to high temperatures. When it is installed properly this will not lead to cracking.
To install lead correctly, always use the correct code of lead. Lead codes determine its thickness and weight – code 3 might be used for soakers for instance, while dormers will need lead that is at least code 6, 7, or 8. Lead should never exceed strips of 1.5m, to minimise the chances of splitting.
There are two types of lead flashing – cover flashing, for when the flashing is covering a horizontal join, and step flashing, for when the join is diagonal.
Since flashing always has to enter gaps in the brickwork, step flashing forms a step pattern at the top of the flashing.
The gaps in the brickwork are usually made deeper using an angle grinder so flashing can get good purchase.
This carving is usually 25mm deep, 20mm if near a lintel or window.
Careful measurements must be taken to make sure that the lead is fitting in properly.
It always needs to rise up at around 150mm, and overlaps between pieces of lead should be between 200mm and 150mm.
Finally, for the best possible appearance and fit, remember to use lead dressing tools. Setting in sticks allow you to get it into angles.
While on the other hand, bossing sticks can be used to mould it around corners. Finally, chasing wedges can be used to guide it into the gap in the brickwork.
Patination Oil
Lead can’t be painted over easily thanks to that same high level of thermal expansion that can cause cracking.
However, patination oil – a type of oil used to protect newly formed lead – can be used to give lead a full, dark grey that is very appealing to the eye.
Normally, patination oil would just be applied when lead is first installed since by the time it was worn away the lead would have developed a patina to protect itself.
However, to get back that colour, patination oil can be reapplied every few years.
In addition to affecting the lead’s appearance directly, using patination oil from the beginning will prevent the occurrence of unsightly white scribbles.
It will also protect the lead from metallic runoff that can lead to red marks. To apply patination oil, just work it in with a smooth cloth.
Be careful, patination oil is made with white spirit which can be toxic.
Getting rid of stains
If you already have white stains then don’t worry, you can get rid of them using vinegar and a nylon brush.
You can also use this brush to help remove red metallic runoff stains, but this time you’ll need to apply a powerful detergent.
Actual rust should be removed using a lead restorer.


